
Getting started with Pin
This guide will help you get started using Pin, from account setup to sourcing candidates and launching your first outreach. Most users are up and running within a day, and we’ll make sure you are too.
This guide covers:
Setting up your account
Head over to https://app.pin.com/login to get started. You'll need to use your work email hosted by G Suite or Microsoft 365.
Note: We currently support only Google and Microsoft-hosted email accounts. While we don’t recommend it, if you need to use a @gmail.com or @outlook.com account, please reach out to our Support team. Keep in mind that using a personal email may impact your experience with Pin.
Creating your first job
When setting up your Pin account, you’ll be guided to create your first job by providing a few details.
Here's a walkthrough on how to create your first job with Pin:
Connecting additional email accounts
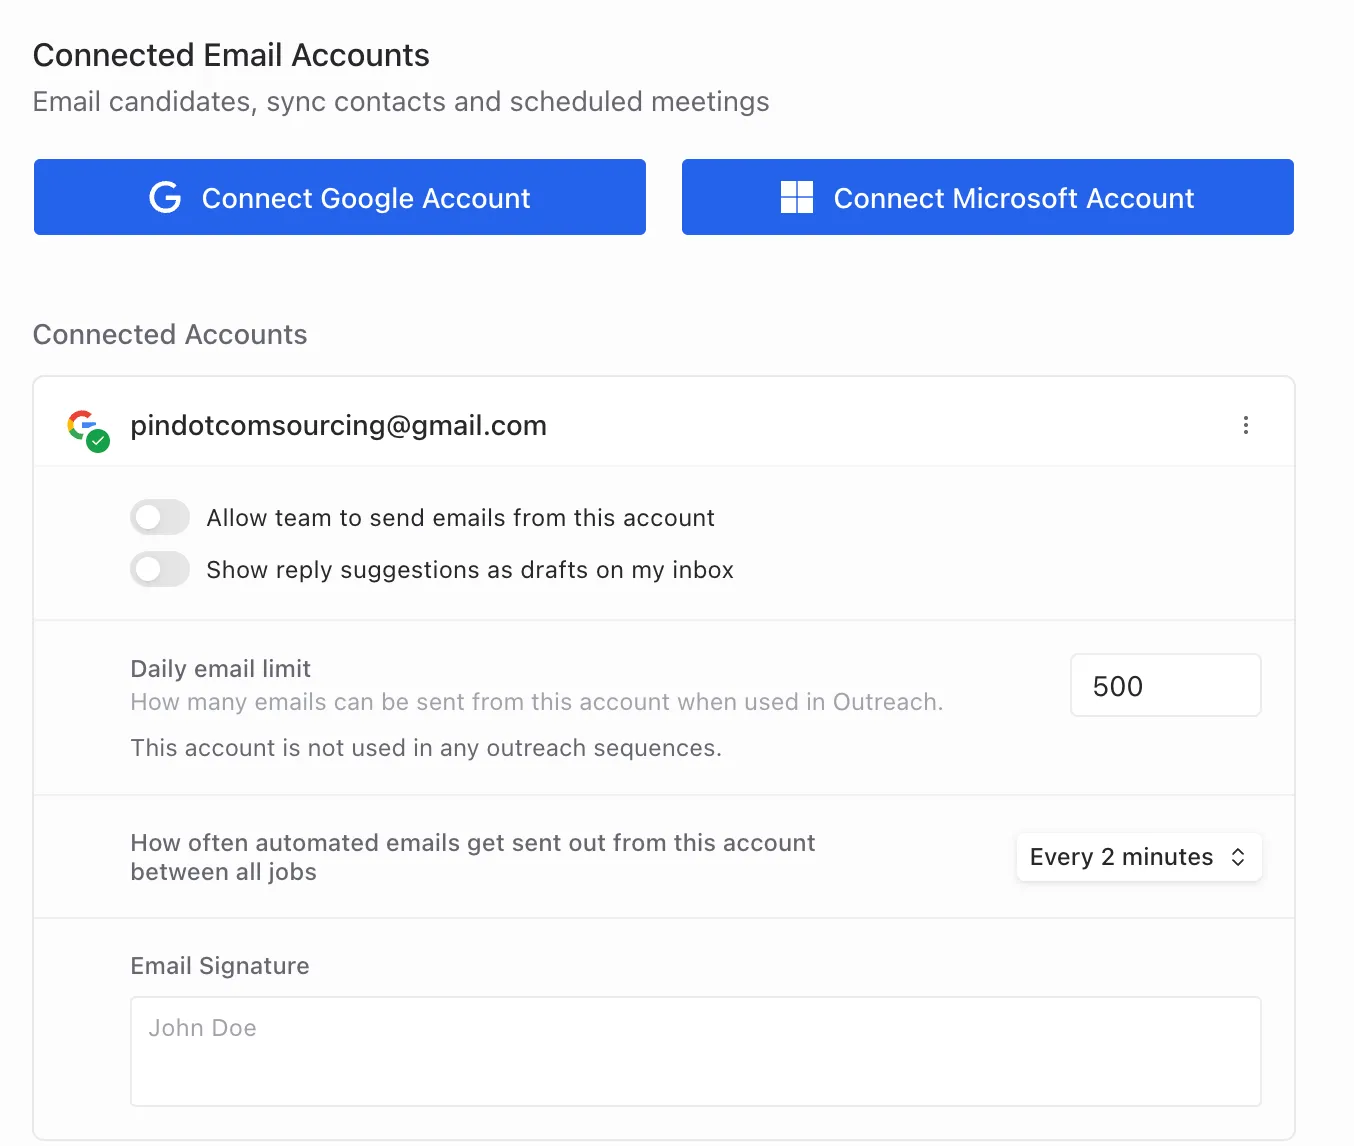
You can connect additional email accounts to your Pin account in Settings -> Connected Accounts.
We recommend connecting your email account to Pin since this allows us to do a few things:
- It allows us to send emails to candidates and know when candidates respond.
- It helps you with scheduling by showing your calendar right inside Pin.
Adding your email signature
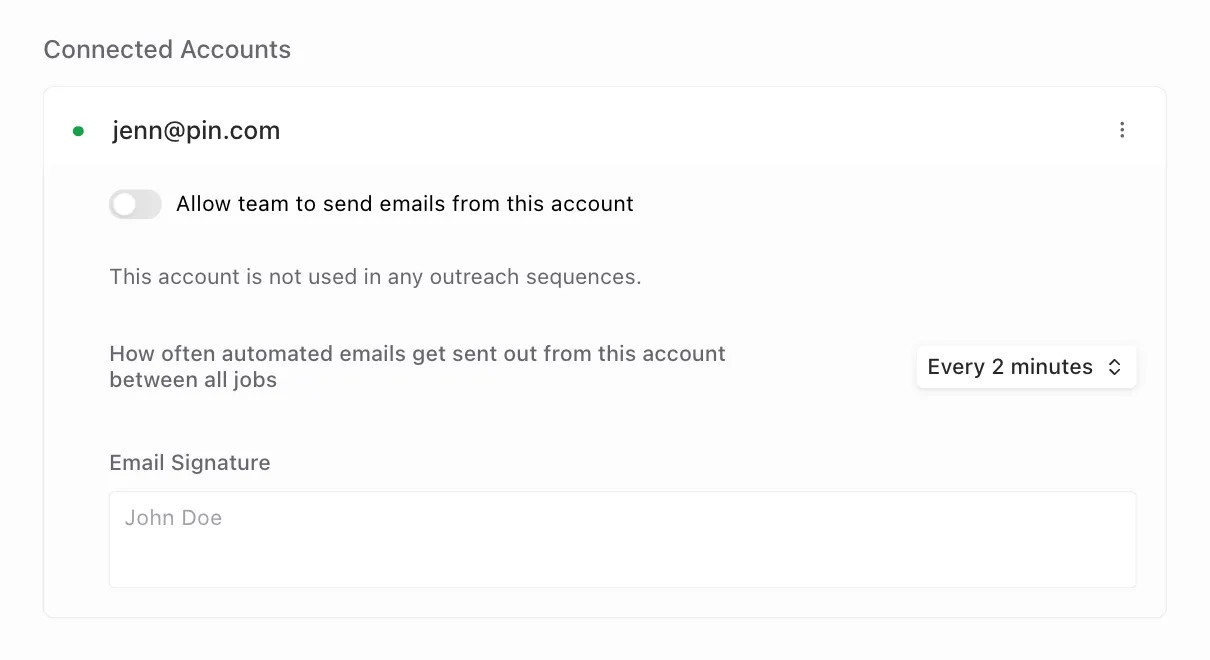
You can add your email signature in the Connected Accounts section for every email that's connected to Pin.
Note: Only text-based signatures are currently supported. Images and other media files cannot be added to signatures.
Inviting a team member
During your account setup, you'll be able to invite team members. If the "Allow anyone from your company to join this org" setting is enabled, they'll need a verified email address with your company domain to join.
If you'd like to invite a team member to join later, navigate to Job Settings -> User & Team Settings -> Members. In the Members tab, enter your team member's email address, select which permission they'll be assigned, and click "Send invite". Pin has four user permission levels, each with different access:
- Admin – Each team can have only one Admin. The Admin manages billing and is the only user who can change other users' roles.
- Member – Members can perform all actions except billing-related changes.
- Viewer – Viewers can only see activity within the Pin account. They cannot take any actions, and most functions will appear greyed out for them.
- Billing – Same as Viewer, but can make billing changes and manage user roles.
Note: Only Admin and Member roles are billed as paid seats. Viewer and Billing roles are free and do not incur any charges.
Adding candidates manually
If you have candidates you'd like to manually add to your outreach sequence, you can do so via CSV upload, LinkedIn URLs, or by copying them from an existing sequence.
Check out the How to add candidates manuallyHow to add candidates manually guide to get step-by-step instructions for each method.
Running candidate searches
When running candidate searches, you can either paste your job description into Pin to have it automatically organized or manually enter your search criteria.
Learn how to run candidate searches and apply filters in the How to run candidate searchesHow to run candidate searches guide.
Creating an Outreach sequence
Outreach sequences are a series of steps you set up to contact candidates through automated emails and various tasks such as LinkedIn, SMS, call and custom tasks.
The Create and customize Outreach sequence guide walks you through each step of setting up your outreach workflow.
Note: Candidates must be added to Outreach in order for Pin to find their emails.
Understanding lookup credits
Pin uses lookup credits to find candidates' email addresses and phone numbers. You can check out the Understanding lookup credits guide to learn how lookup credits work, how to check your balance, and how to purchase more.